Skip to content

Explore services

Request an Estimate
Precise residential paver terrace connected to lawn and a clear entrance transition

Interlocking in Burlington

Interlocking

Create a useful paver surface that belongs to the property. Start with the load, elevations and water route; then choose the units, pattern and border.

Interlocking can connect a front entrance, make space for outdoor living or provide a practical driveway surface. It offers a wide choice of unit sizes, textures and laying patterns, but the important work starts before any paver is placed. Soil conditions, excavation, aggregate support, bedding and edge restraint all contribute to the finished pavement.

For a Burlington property, the right question is more useful than a favourite colour: what should this surface do, and what does the site need to let it do that reliably? A patio has to support furniture and circulation. A walkway has to meet doors, steps and gates without awkward levels. A driveway has to carry vehicles and work with the garage and road approach. Burlington Landscaping plans interlocking around those everyday demands.

Prepare the support before setting the finish

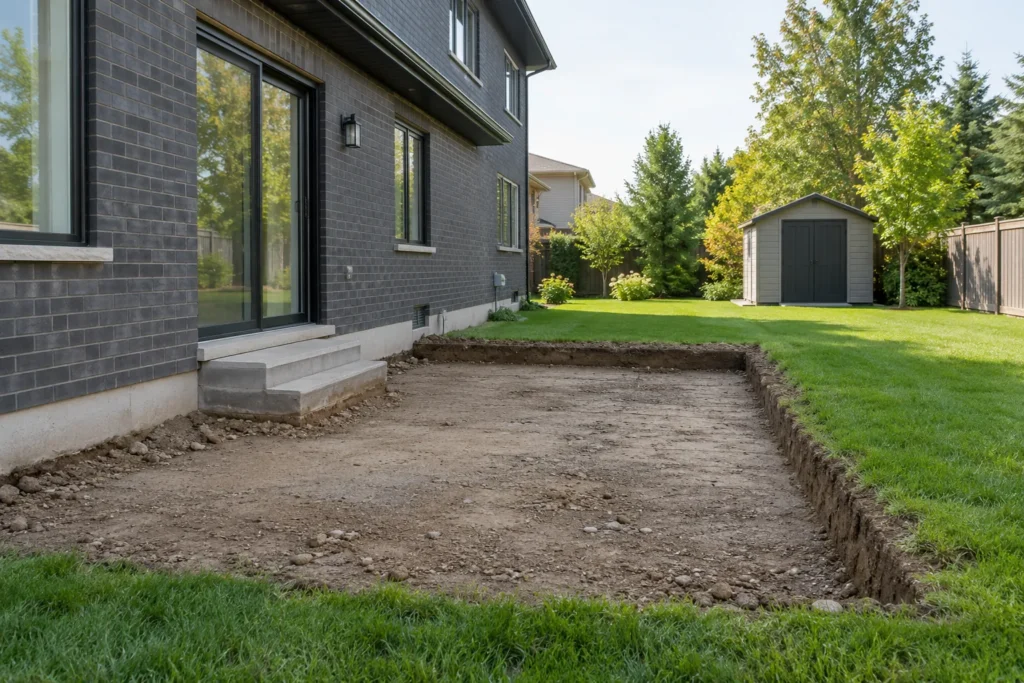
Excavation starts from planned final elevations. The combined thickness of the pavement layers has to fit below those levels while allowing for the condition of the existing soil. Removing only enough material to hide a paver is not the same as preparing a suitable pavement foundation. Soft, disturbed or wet areas need to be identified rather than buried beneath a uniform-looking surface.

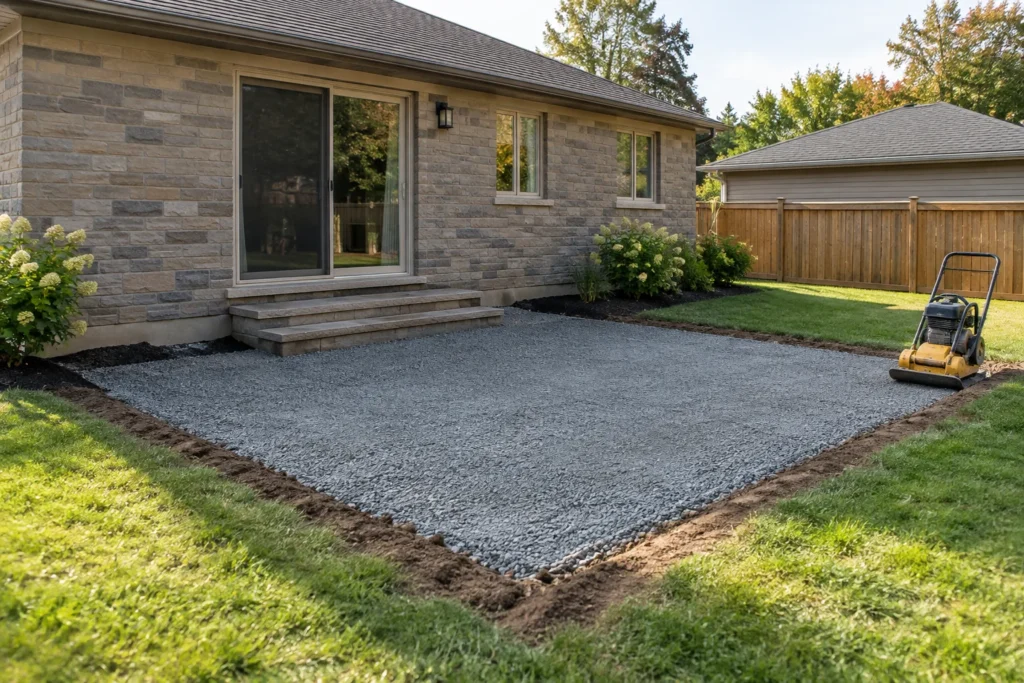
Compacted aggregate supports the bedding and units above it. Material selection, base depth and any separation or drainage measures depend on the actual ground and loading. Aggregate should be placed in workable layers and compacted with suitable equipment; spreading one deep loose layer and running a compactor across the top does not establish consistent support throughout. Restricted corners, edges and utility locations deserve attention as well as the easy open area.

The finished base also establishes the shape beneath the pavers. It should follow the intended grades and transitions instead of leaving the bedding to correct uneven preparation. Discuss access, excavation disposal and protection of surrounding surfaces when defining this work. A narrow side yard can materially change how the same patio is constructed.

Excavation edge with consistent depth and clear existing elevations
Orderly compacted aggregate base below a planned patio

Site First. Finish Second.

Four decisions that belong below the paver

The supporting layers, water route, bedding and restrained edges work together. Review each part before choosing the finished paver surface.

Ground and load

A flexible pavement shares loads through its units, joints and supporting layers. Weak or saturated ground changes the design question. Match the supporting assembly to anticipated pedestrian or vehicle use, rather than choosing a standard depth from the finished area alone.

Grade and water

Set a continuous surface-water route before the work is covered. Runoff needs a credible destination that respects the house, adjoining property and approved drainage. A low point cannot be solved simply by adding an attractive drain grate with nowhere for the water to go.

Bedding consistency

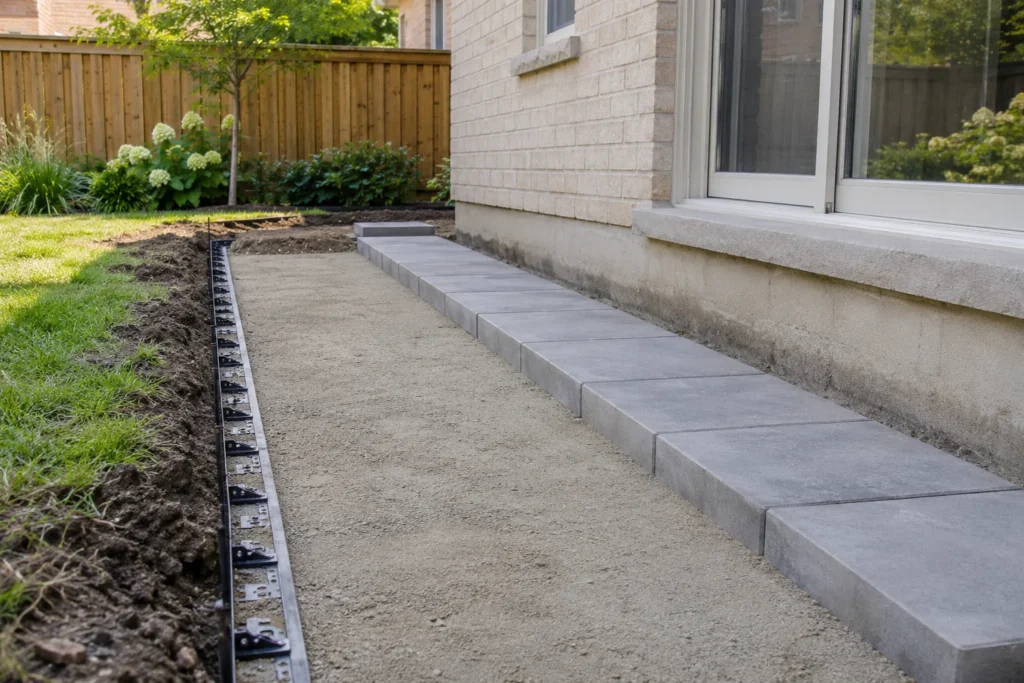
The bedding is a consistent setting layer, not a bulk filler for low areas in the base. Its material and installation must suit the chosen pavement system. Correct the supporting surface before placing bedding, then protect prepared areas from disturbance during laying.

Edges and joints

Restrained edges keep the pavement together, while suitable joint material supports interlock and serviceability. A decorative border still needs support. Loose edges, washed-out joints or incompatible joint products can undermine otherwise sound-looking paving.

Pattern, units and borders should serve the use

Choose pavers with the proposed application in mind. Unit proportions, thickness and product suitability matter, particularly where vehicles turn or brake. A format intended for a light-use patio should not automatically become the driveway specification. Product guidance and pavement design should agree before the finish is selected.

Pattern is both a visual and practical choice. The arrangement should suit the dimensions, traffic direction and edge details without leaving fragile narrow cuts. Establish reference lines so courses remain coherent across the area. Borders can define a walking route or simplify the transition to a garden, but a border should not become a raised obstruction in a vehicle or pedestrian path.

Look at samples against the existing brick, siding and stone. Consider texture underfoot and how the colour changes when wet. A restrained combination is often easier to coordinate with the house than several competing accents. Ask how the selected surface and joint products should be maintained before deciding that appearance alone makes them suitable.

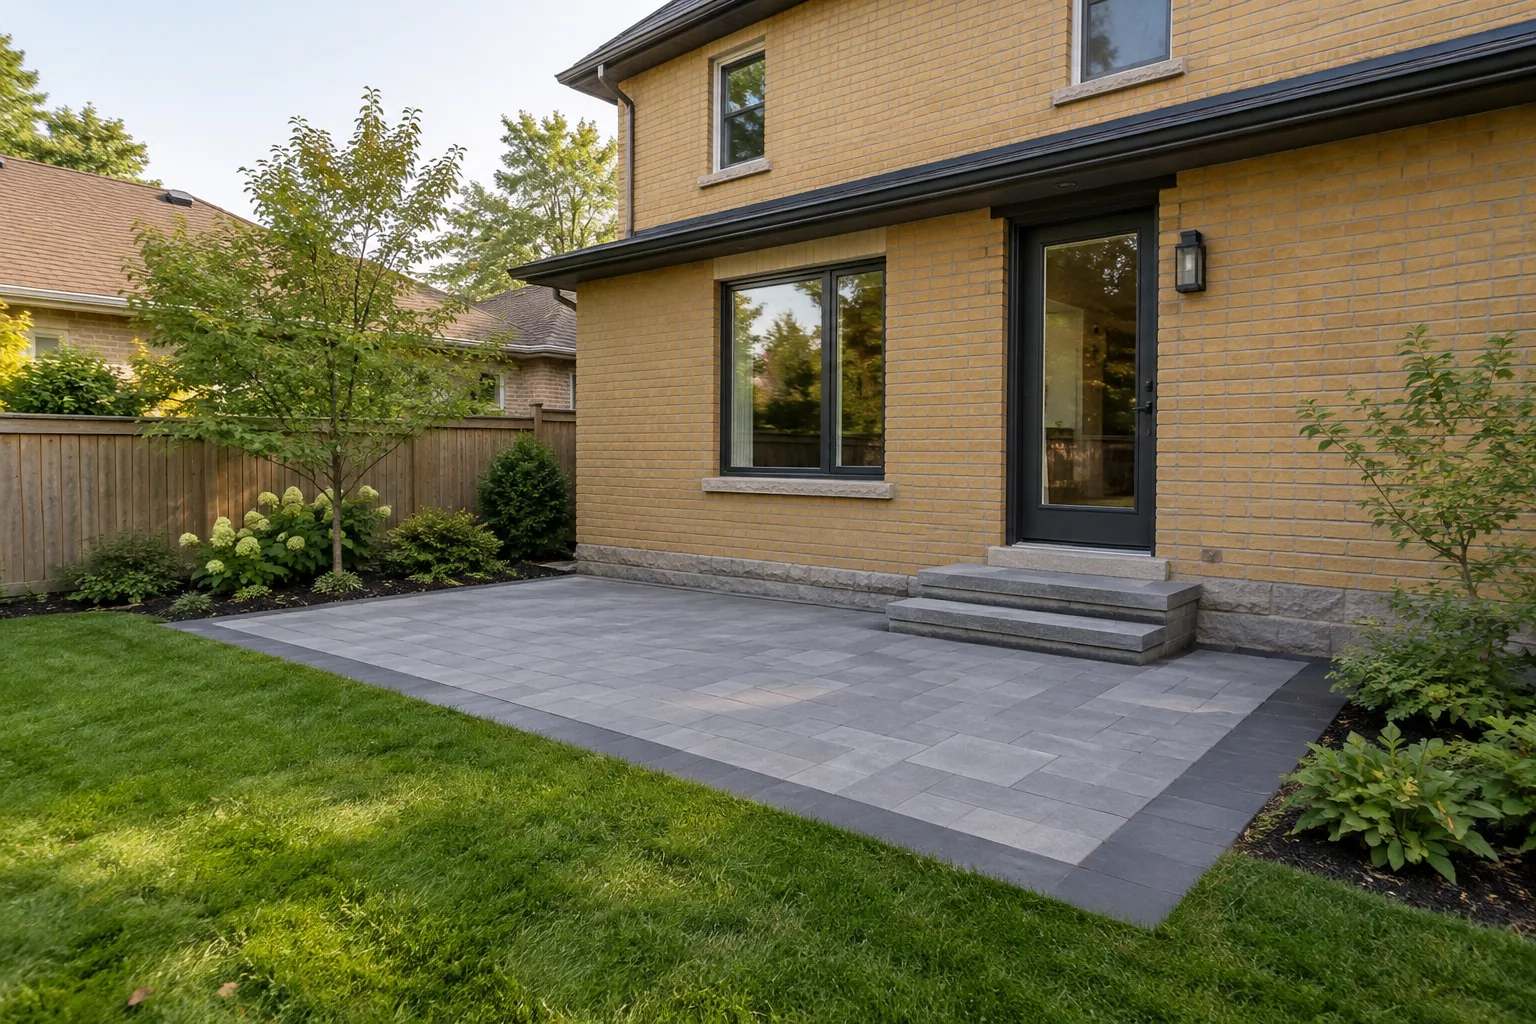
Straight bedding and paver placement beside fixed edge restraint

Make every transition deliberate

The paver layout has to arrive cleanly at steps, garage floors, door landings, gates and other fixed surfaces. These are measured interfaces, not details to improvise after the main area is laid. The result should provide useful clearance and stable movement while preserving the intended water route and appropriate clearance at the house.

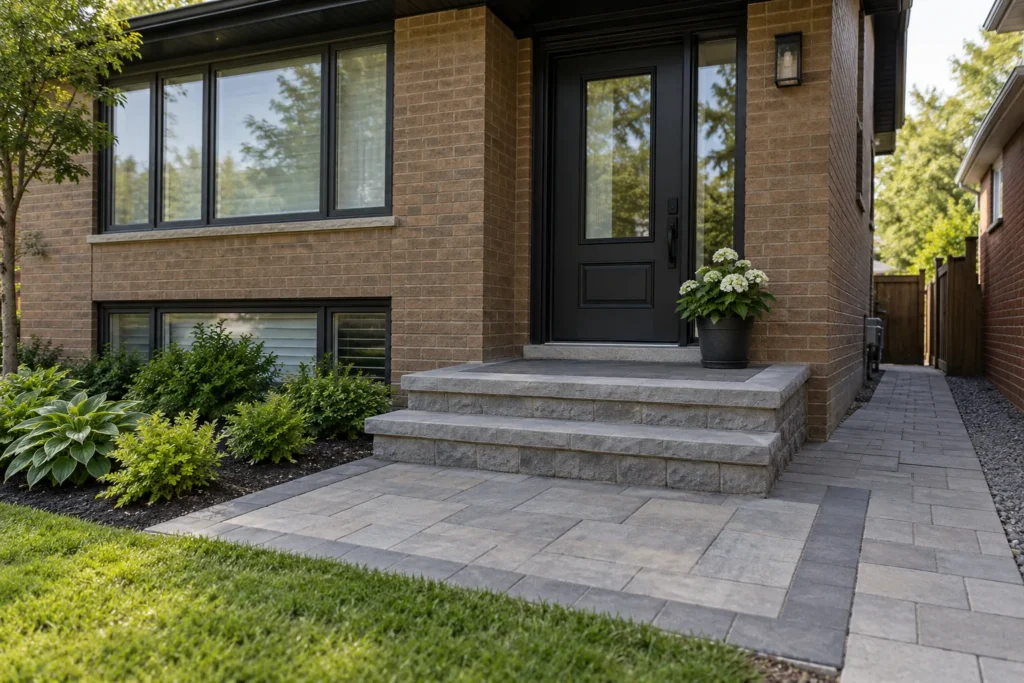
A porch or door landing must remain usable when the door opens. Steps need consistent geometry and somewhere sensible to arrive. The pavement edge should meet lawn and planting without a loose strip that spills soil onto the surface or a lip that makes maintenance difficult. Transitions to concrete or natural stone need suitable support and allowance for how the different materials behave.

Do not change an existing grade merely to make the pavers look level in a photograph. The planned elevations have to work with the surrounding property. Where a surface meets a significant change in grade, retaining-wall planning or outdoor steps may be part of the project. Where roof runoff or low areas affect the pavement, discuss landscape drainage before construction.

Brown-brick entrance with a bordered paver landing and two broad stone steps
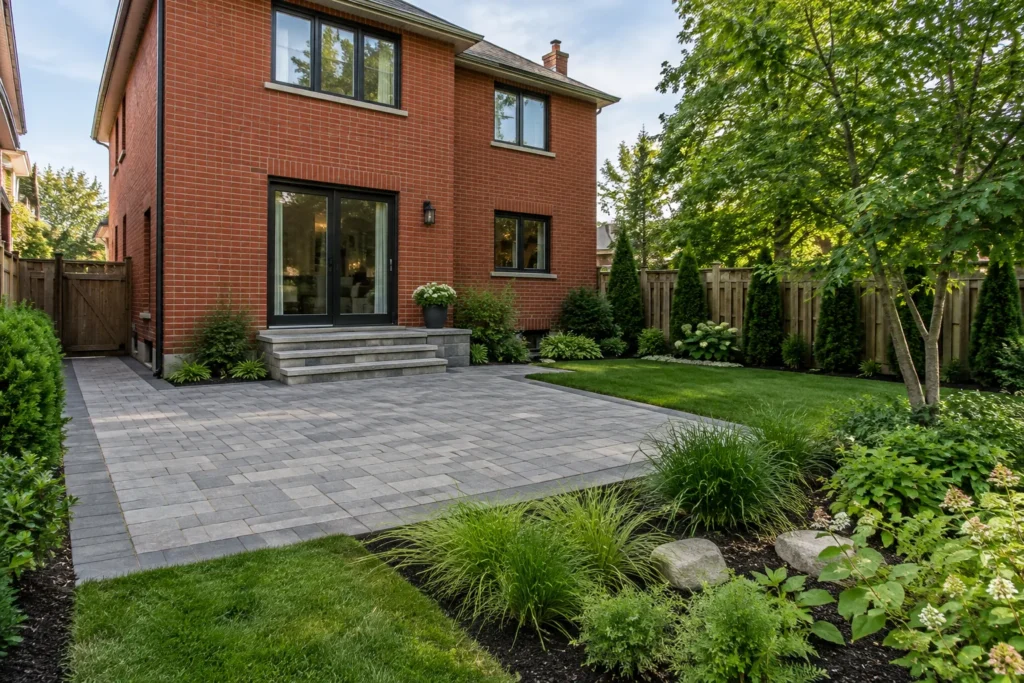
Grey paver terrace beside a red-brick two-storey house, rear steps, garden beds and adjoining lawn

Match the pavement to its everyday demand

Interlock Driveways, Interlock Patios and Walkways & Entrances examine those applications in more detail. If additional parking width is the actual goal, begin with Driveway Extensions & Widening so site and approval constraints lead the layout.

Match the pavement to its everyday demand
ApplicationMain demandPlan alongside the paving
DrivewayMoving and parked vehicles, turning and brakingGarage and road transitions, suitable pavers and support, front-walk route, snow storage
PatioFurniture, seating and comfortable circulationDoor clearance, actual furniture dimensions, cooking location, shade and lawn connection
WalkwayFrequent pedestrian travel and winter accessContinuous width, steps and landings, gates, lighting and material transitions
Multi-surface projectSeveral uses with shared levelsDrainage, retaining, utility routes, future work and construction access

From existing ground to a finished surface

  1. Understand the property

    Review how the area is used, measure fixed levels and assess visible ground and drainage conditions. Identify boundaries, utilities, mature trees, access limitations and any work that needs to happen before paving.

  2. Agree on the complete scope

    Define the layout, suitable units, supporting assembly, restraints, joint treatment and transitions. Include excavation disposal, drainage interfaces and restoration of disturbed surroundings. Compare estimates using those details, rather than area and paver name alone.

  3. Prepare and establish levels

    Excavate to the planned formation, address unsuitable conditions and install the required support in compacted layers. Establish the water route and final reference levels before covering the base with bedding and units.

  4. Lay, restrain and finish

    Place units in the agreed pattern, keep courses aligned and complete deliberate cuts and boundaries. Finish the pavement with appropriate compaction and joint treatment for the chosen products. Check the assembled transitions and surface behaviour.

  5. Review care and surrounding restoration

    Explain the suitable cleaning, joint care and winter-clearing approach. Review lawn and garden edges, and discuss any future stage that connects to the new paving. Maintenance expectations should be clear before the surface is put into regular use.

Plan for seasons, inspection and repair

Freeze–thaw cycles place extra importance on water management and stable preparation. Moisture in vulnerable ground or layers can contribute to seasonal movement; no decorative paver pattern eliminates that risk. Build the assembly for the conditions and keep drains, edges and runoff routes functioning after installation.

Inspect the surface periodically for loss of joint material, a spreading perimeter, persistent puddles or a developing low area. A small defect can be easier to address before adjacent units become disturbed. Avoid directing aggressive washing into the joints, and follow compatible product guidance if cleaning or sealing is proposed.

One advantage of a unit pavement is that selected areas can sometimes be lifted for repair or access and reinstated. That does not mean every damaged surface is a small reset. Interlock Repair assesses whether the existing units and supporting conditions make localized work sensible. Cleaning and sealing improves appropriate surfaces; it does not correct settlement beneath them.

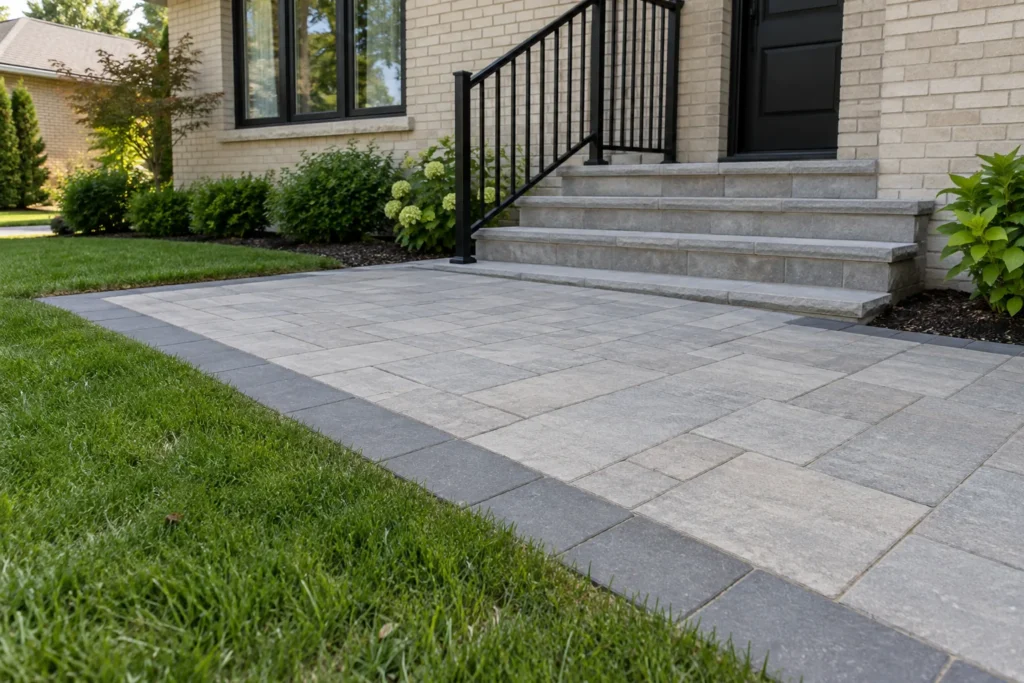
Grey rectangular pavers and a dark restrained border beside a cream-brick entrance with a black rail

What makes an interlocking estimate useful?

An estimate should make the proposed work understandable. Identify the surface area and intended use, but also the preparation, restraint, drainage connections and finishing details. Clarify what happens at existing steps, the garage, the house and adjoining surfaces. Note whether old material is removed and whether disturbed grass or planting is restored.

Site access, unsuitable ground, retaining work and changes to drainage can influence scope as much as the choice of paver. If a condition cannot yet be confirmed, ask how it will be assessed and how a resulting change would be discussed. Photographs and rough dimensions help begin the conversation, while site measurements resolve levels and connections.

For a larger landscape project, coordinate paving with landscape design and construction so future structure positions, planting areas and underground routes are not left until after the surface is finished. A practical sequence can reduce avoidable rework without forcing every part of the property to be built at once.

Interlocking questions

Why can newly installed interlocking settle?

Settlement can relate to ground conditions, inadequate or inconsistent compaction, migrating material, drainage problems or an unsupported edge. The visible low area identifies a symptom, not necessarily its cause. Assessment should include surrounding joints, restraints and water behaviour before the units are reset.

Is there one base depth for every Burlington property?

No. Ground, drainage, expected loading and the pavement assembly affect preparation. A pedestrian surface and a vehicle driveway can need different support. The project specification should explain the proposed assembly for the site rather than relying on a universal number.

Are ordinary pavers automatically permeable?

No. Permeable pavement is a designed system with appropriate units, joints, supporting layers and an assessed water arrangement. Ordinary pavers with sand-filled joints should not be treated as a drainage solution simply because they are separate units. Suitability depends on the site and complete design.

Can the existing interlock be reused?

Sometimes, where units remain suitable and the cause of the problem can be corrected. Damaged pieces, unavailable replacements, extensive settlement or a poor layout may affect that decision. Compare repair scope and expected outcome with replacement before choosing.

Does sealing strengthen a weak base?

No. A compatible sealer can change appearance or assist surface care, depending on the product. It cannot stabilize inadequate ground, correct a low area or replace edge restraint. Resolve physical pavement defects before considering a surface treatment.

What should I send with an enquiry?

Include an overall view, the house and door or garage connection, the access route and any low area or water problem. Describe the intended use, approximate dimensions and future work you are considering. Those details help frame a useful interlocking discussion.

Interlocking Gallery

Start with the surface and the site

Tell us whether you are planning a driveway, patio, walkway or connected landscape. Include the existing conditions and what you want the new surface to make easier.

  • Photographs of the overall area and fixed connections
  • Approximate dimensions and intended use
  • Visible drainage or settlement concerns
  • Access route and any planned future structures

Tell us what you would like to change, repair or maintain around your property.